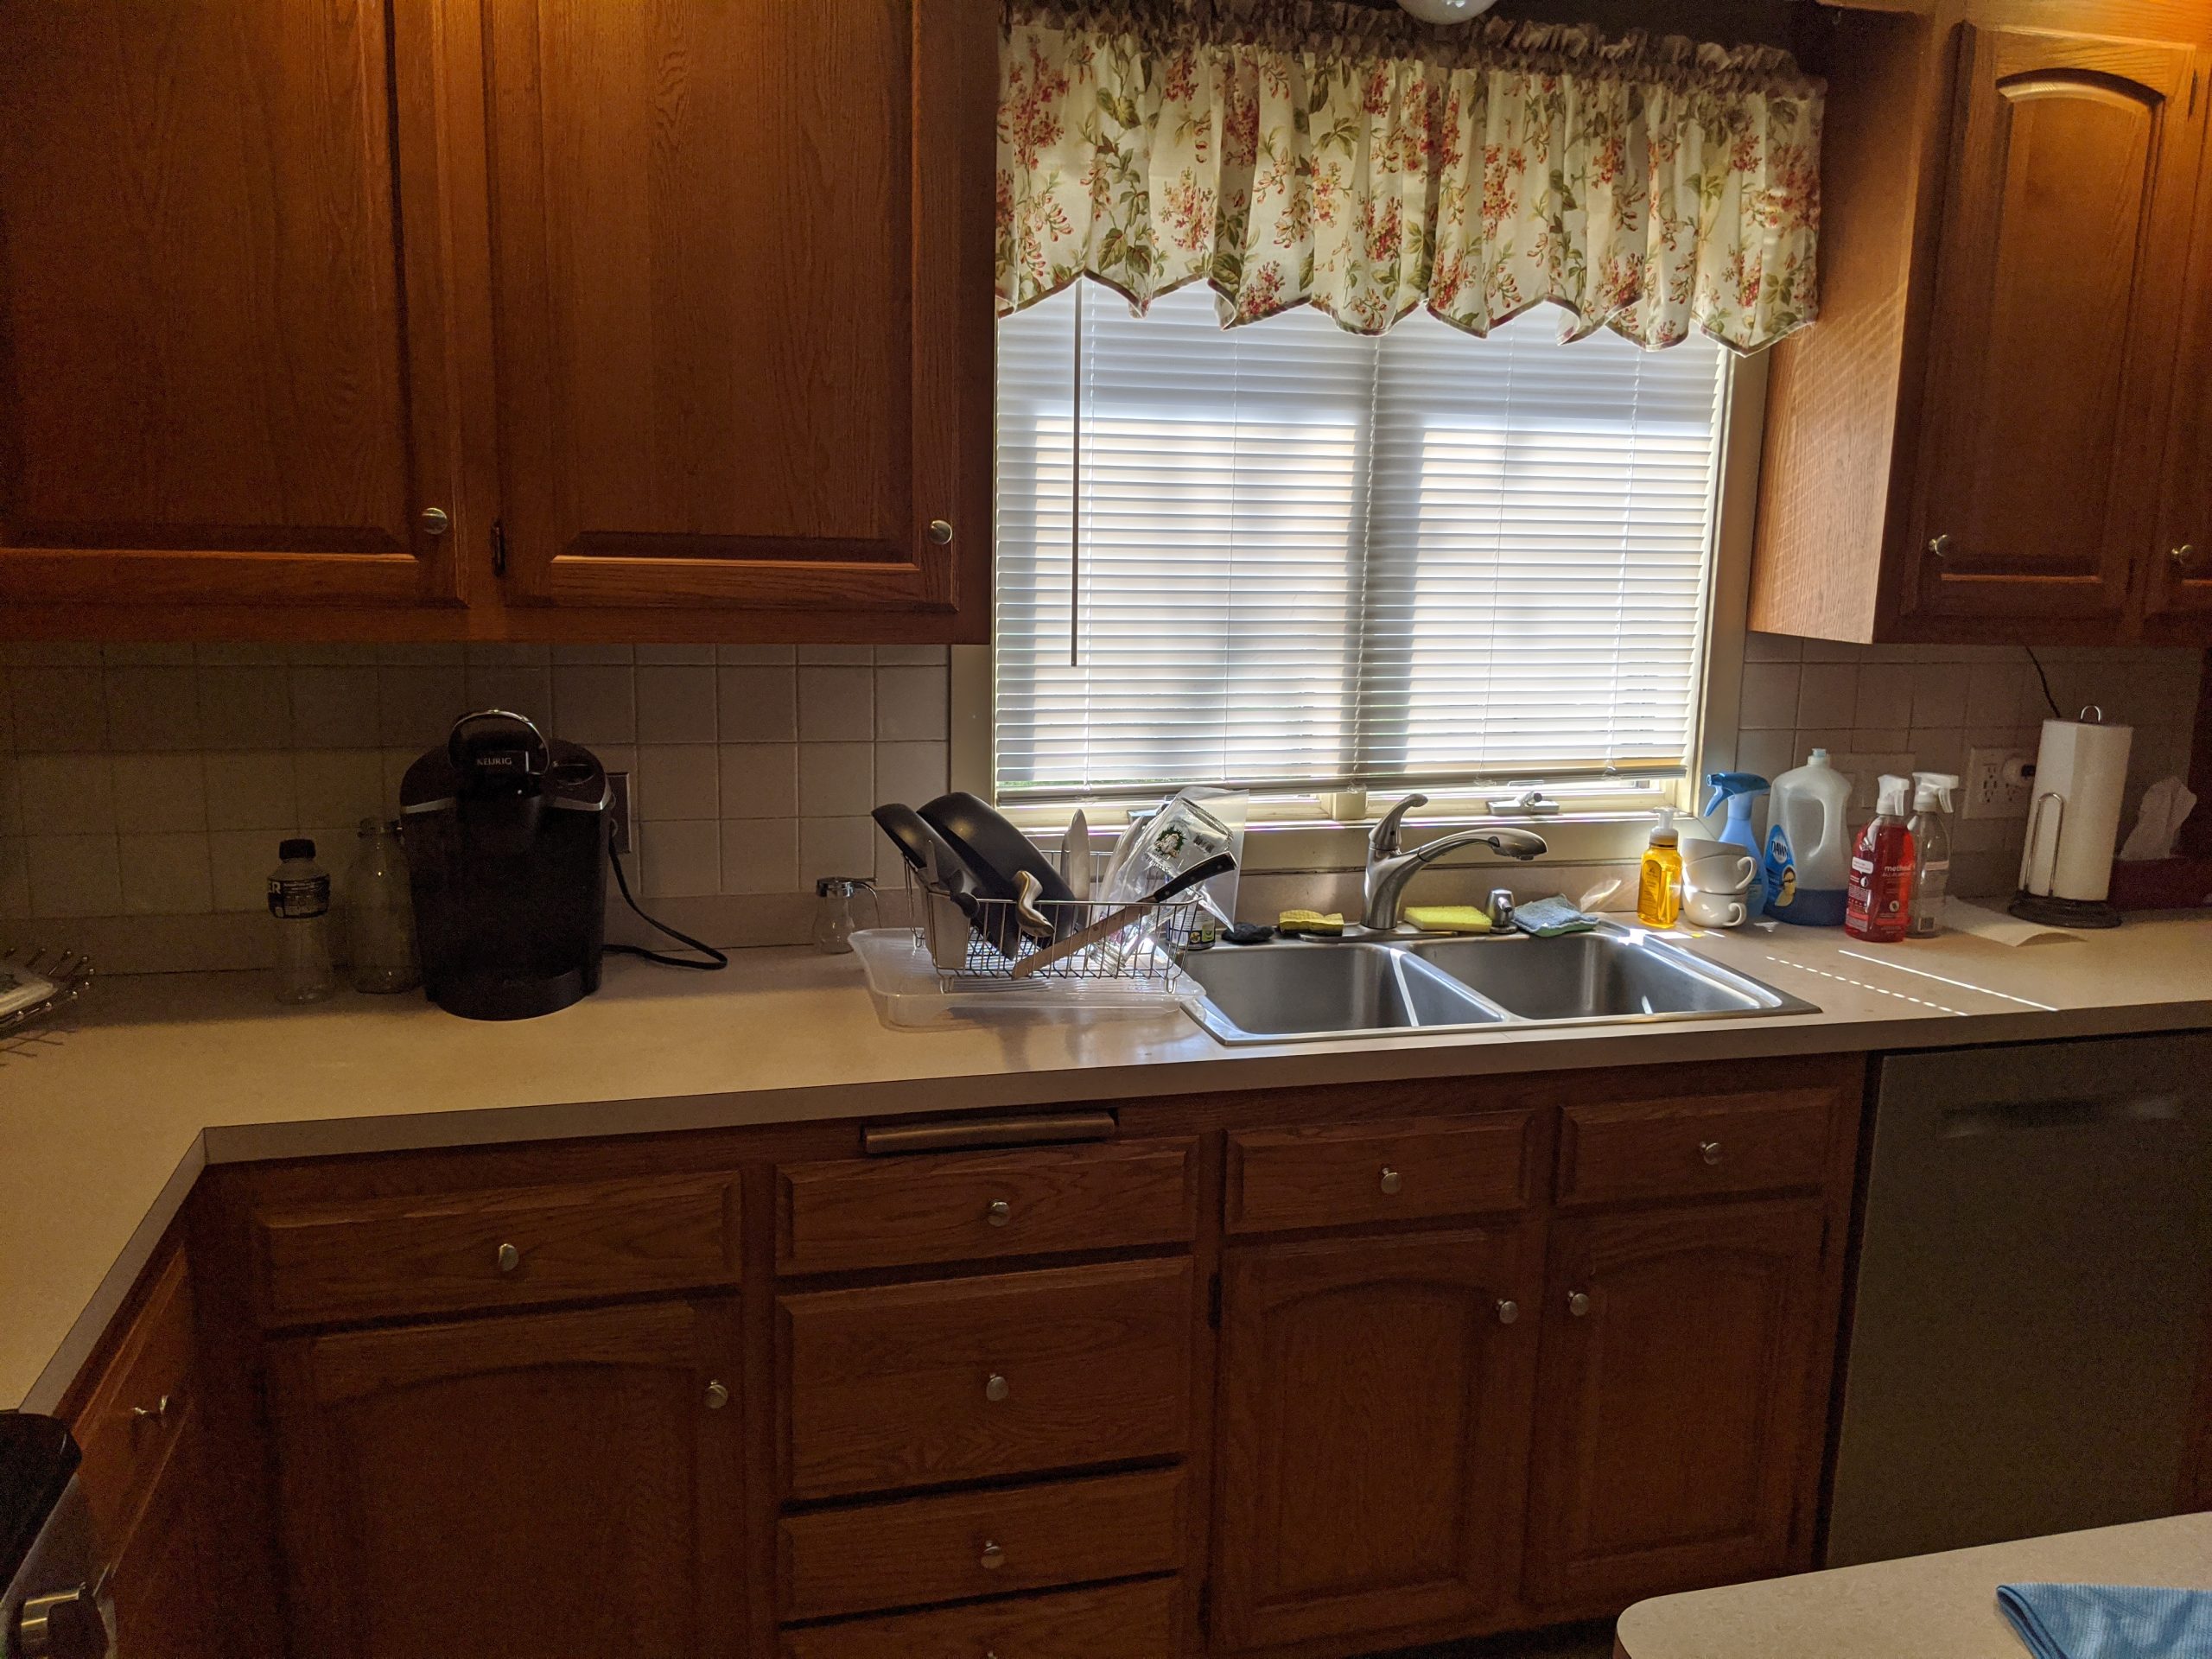
I’ve been doing a fair amount of work around my house with some smaller repairs and some updates / renovations. Ultimately, I’m looking to put the house on the market and sell it so I can move to a new area of the US. My kitchen is fairly large and has a lot of counter and cabinet space. Many aspects of the kitchen are perfectly “livable” as they are now, but I wanted to do something to improve the overall functional level of the room without taking on the cost or effort of a larger project like new countertops.
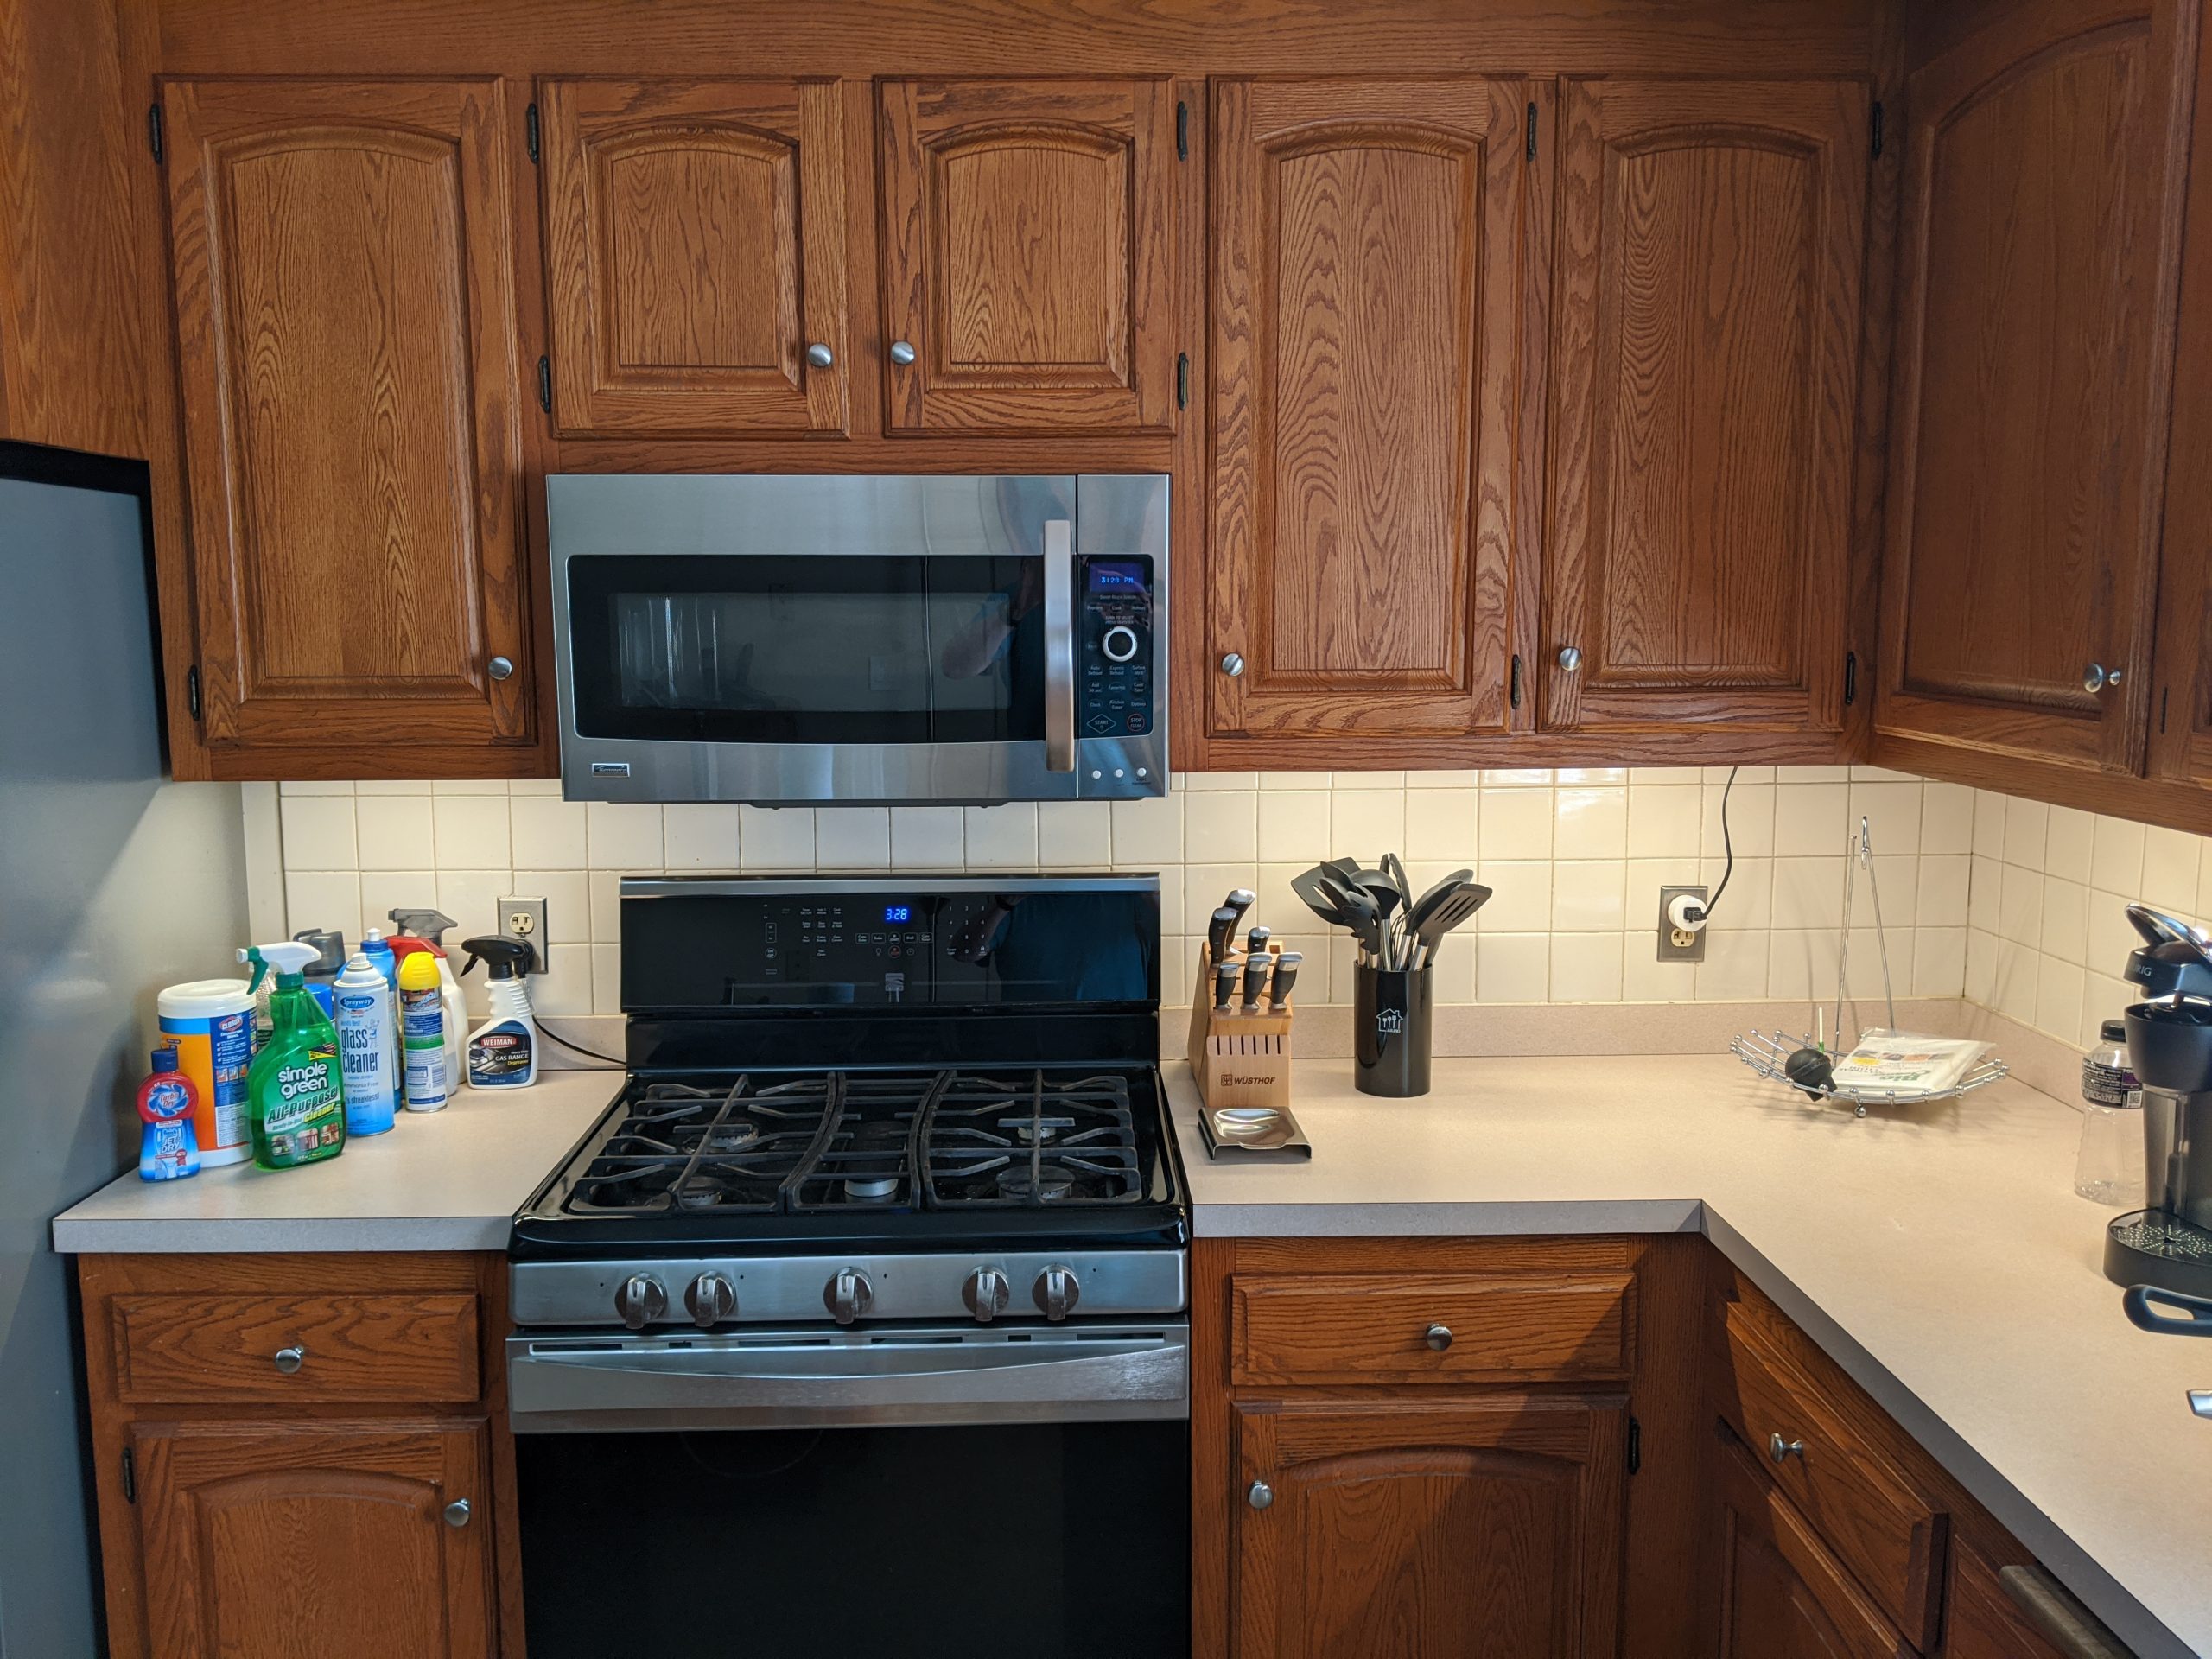
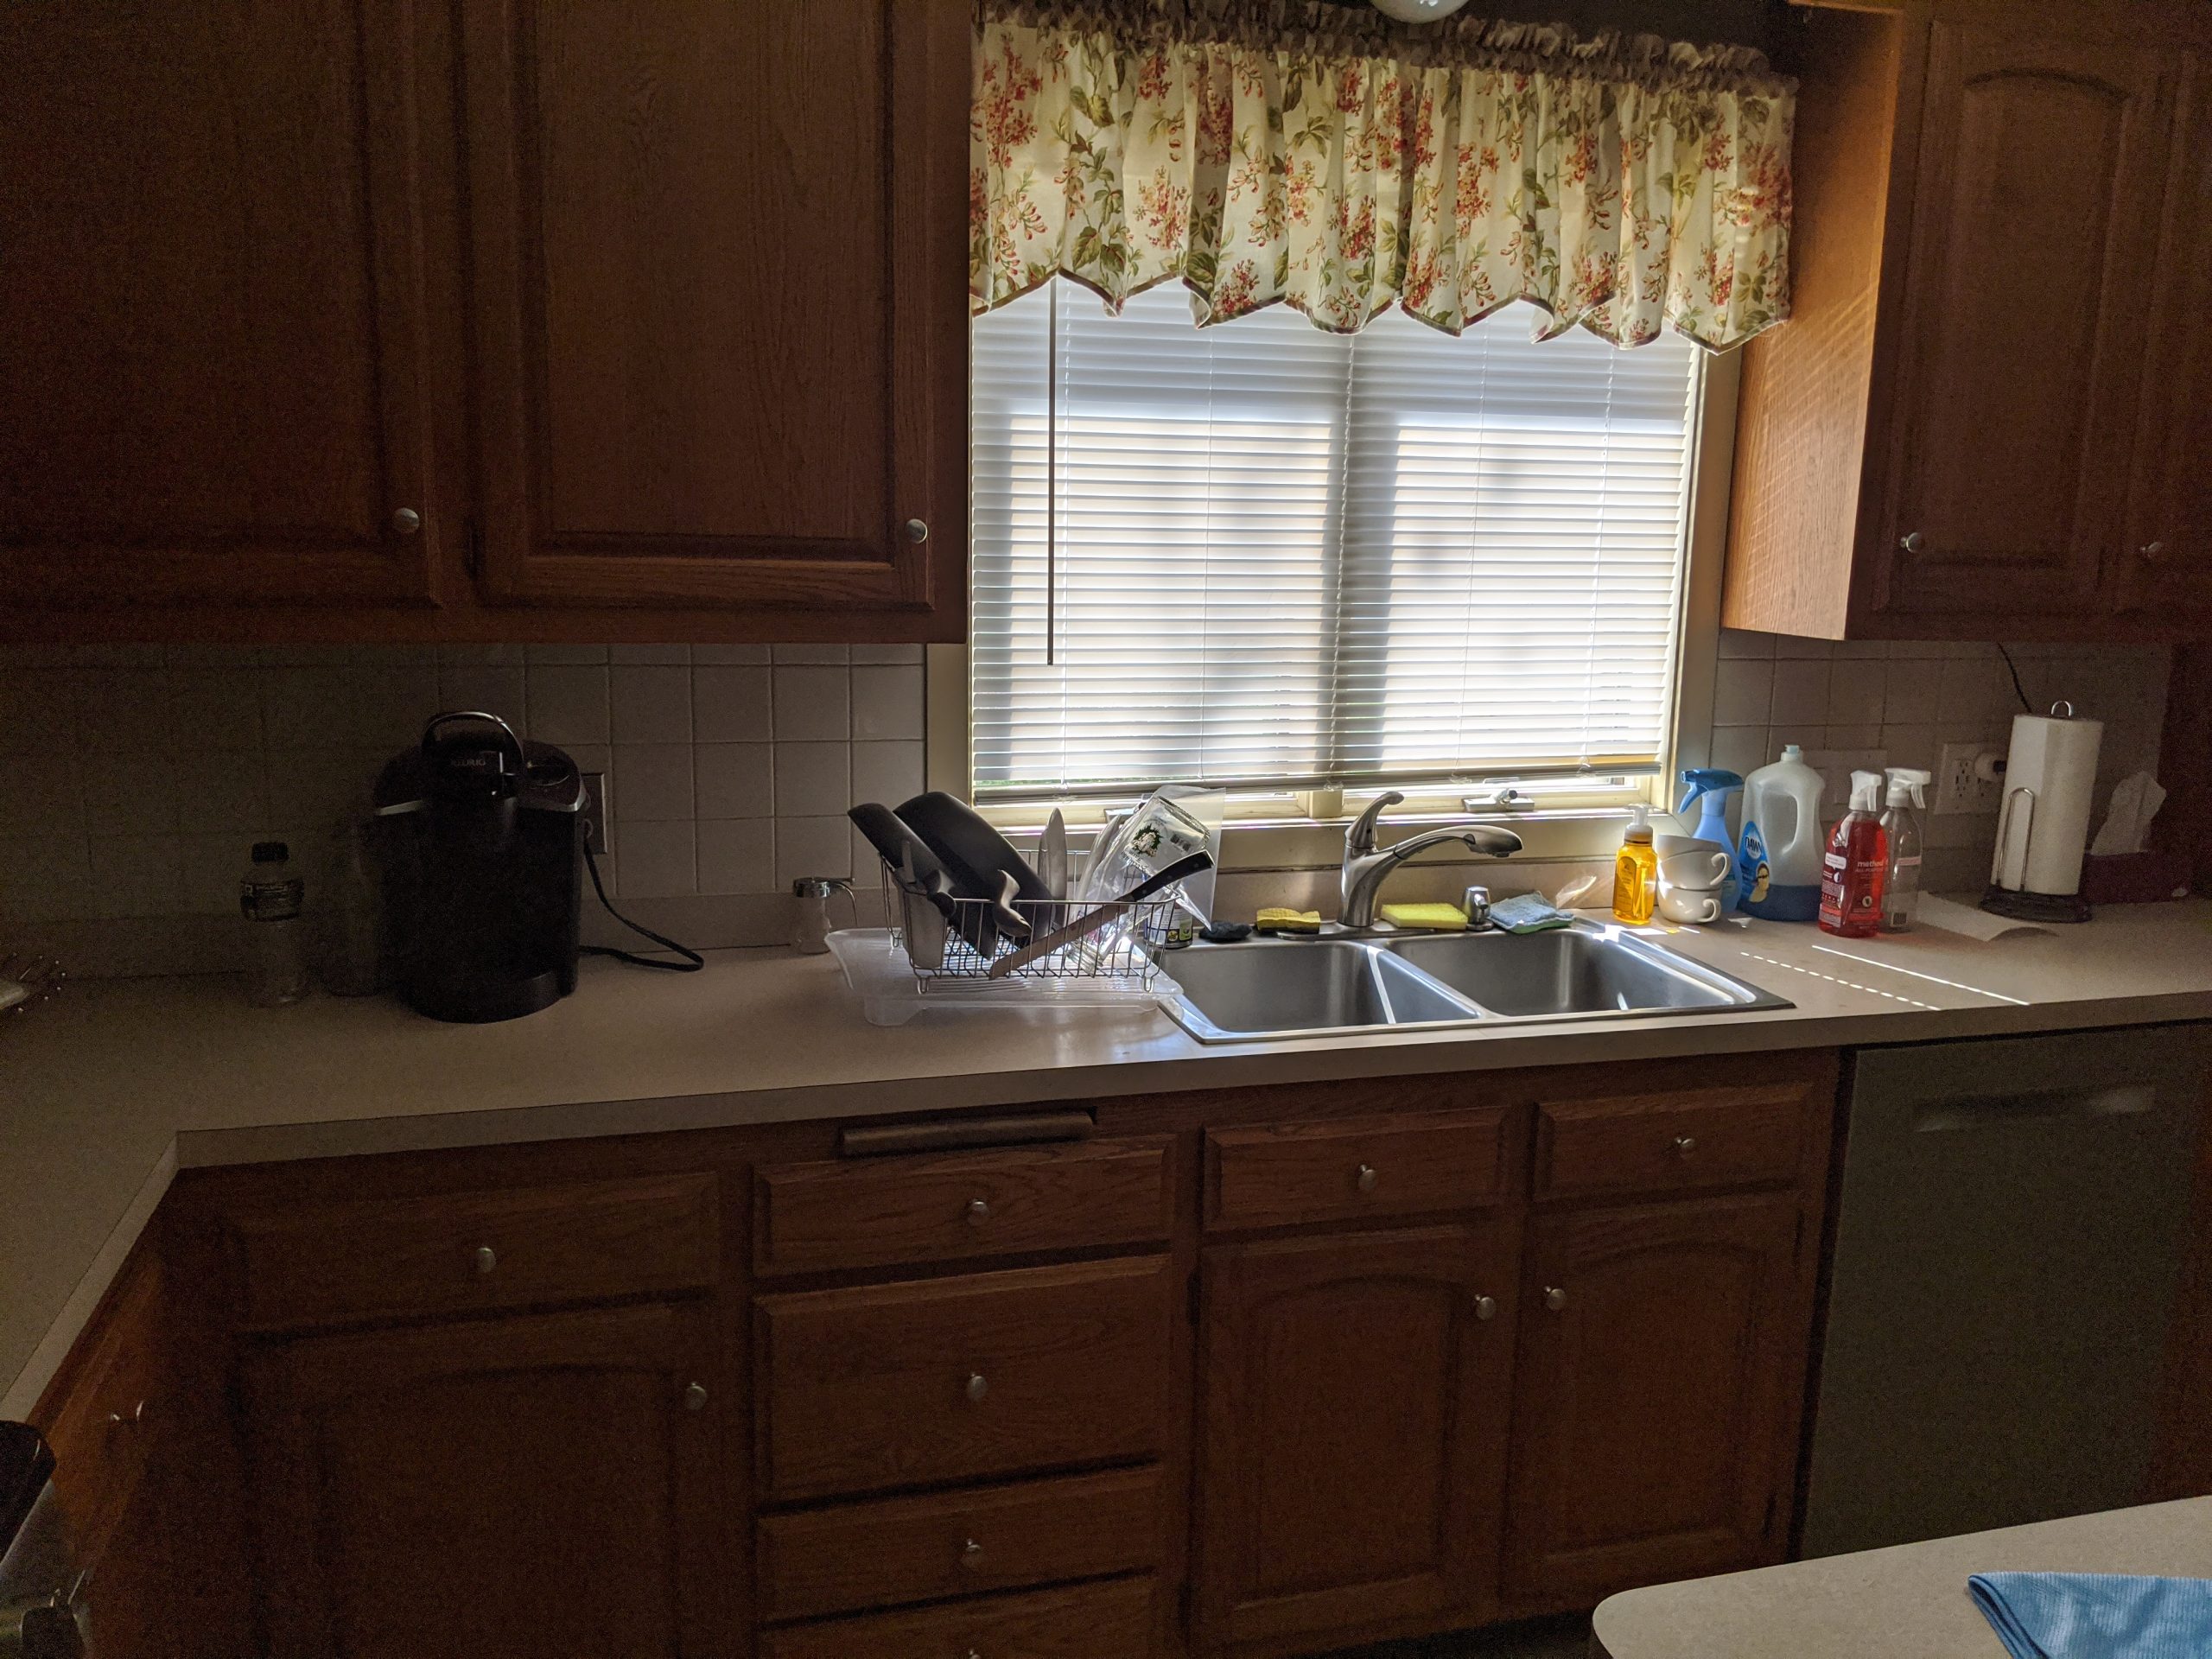
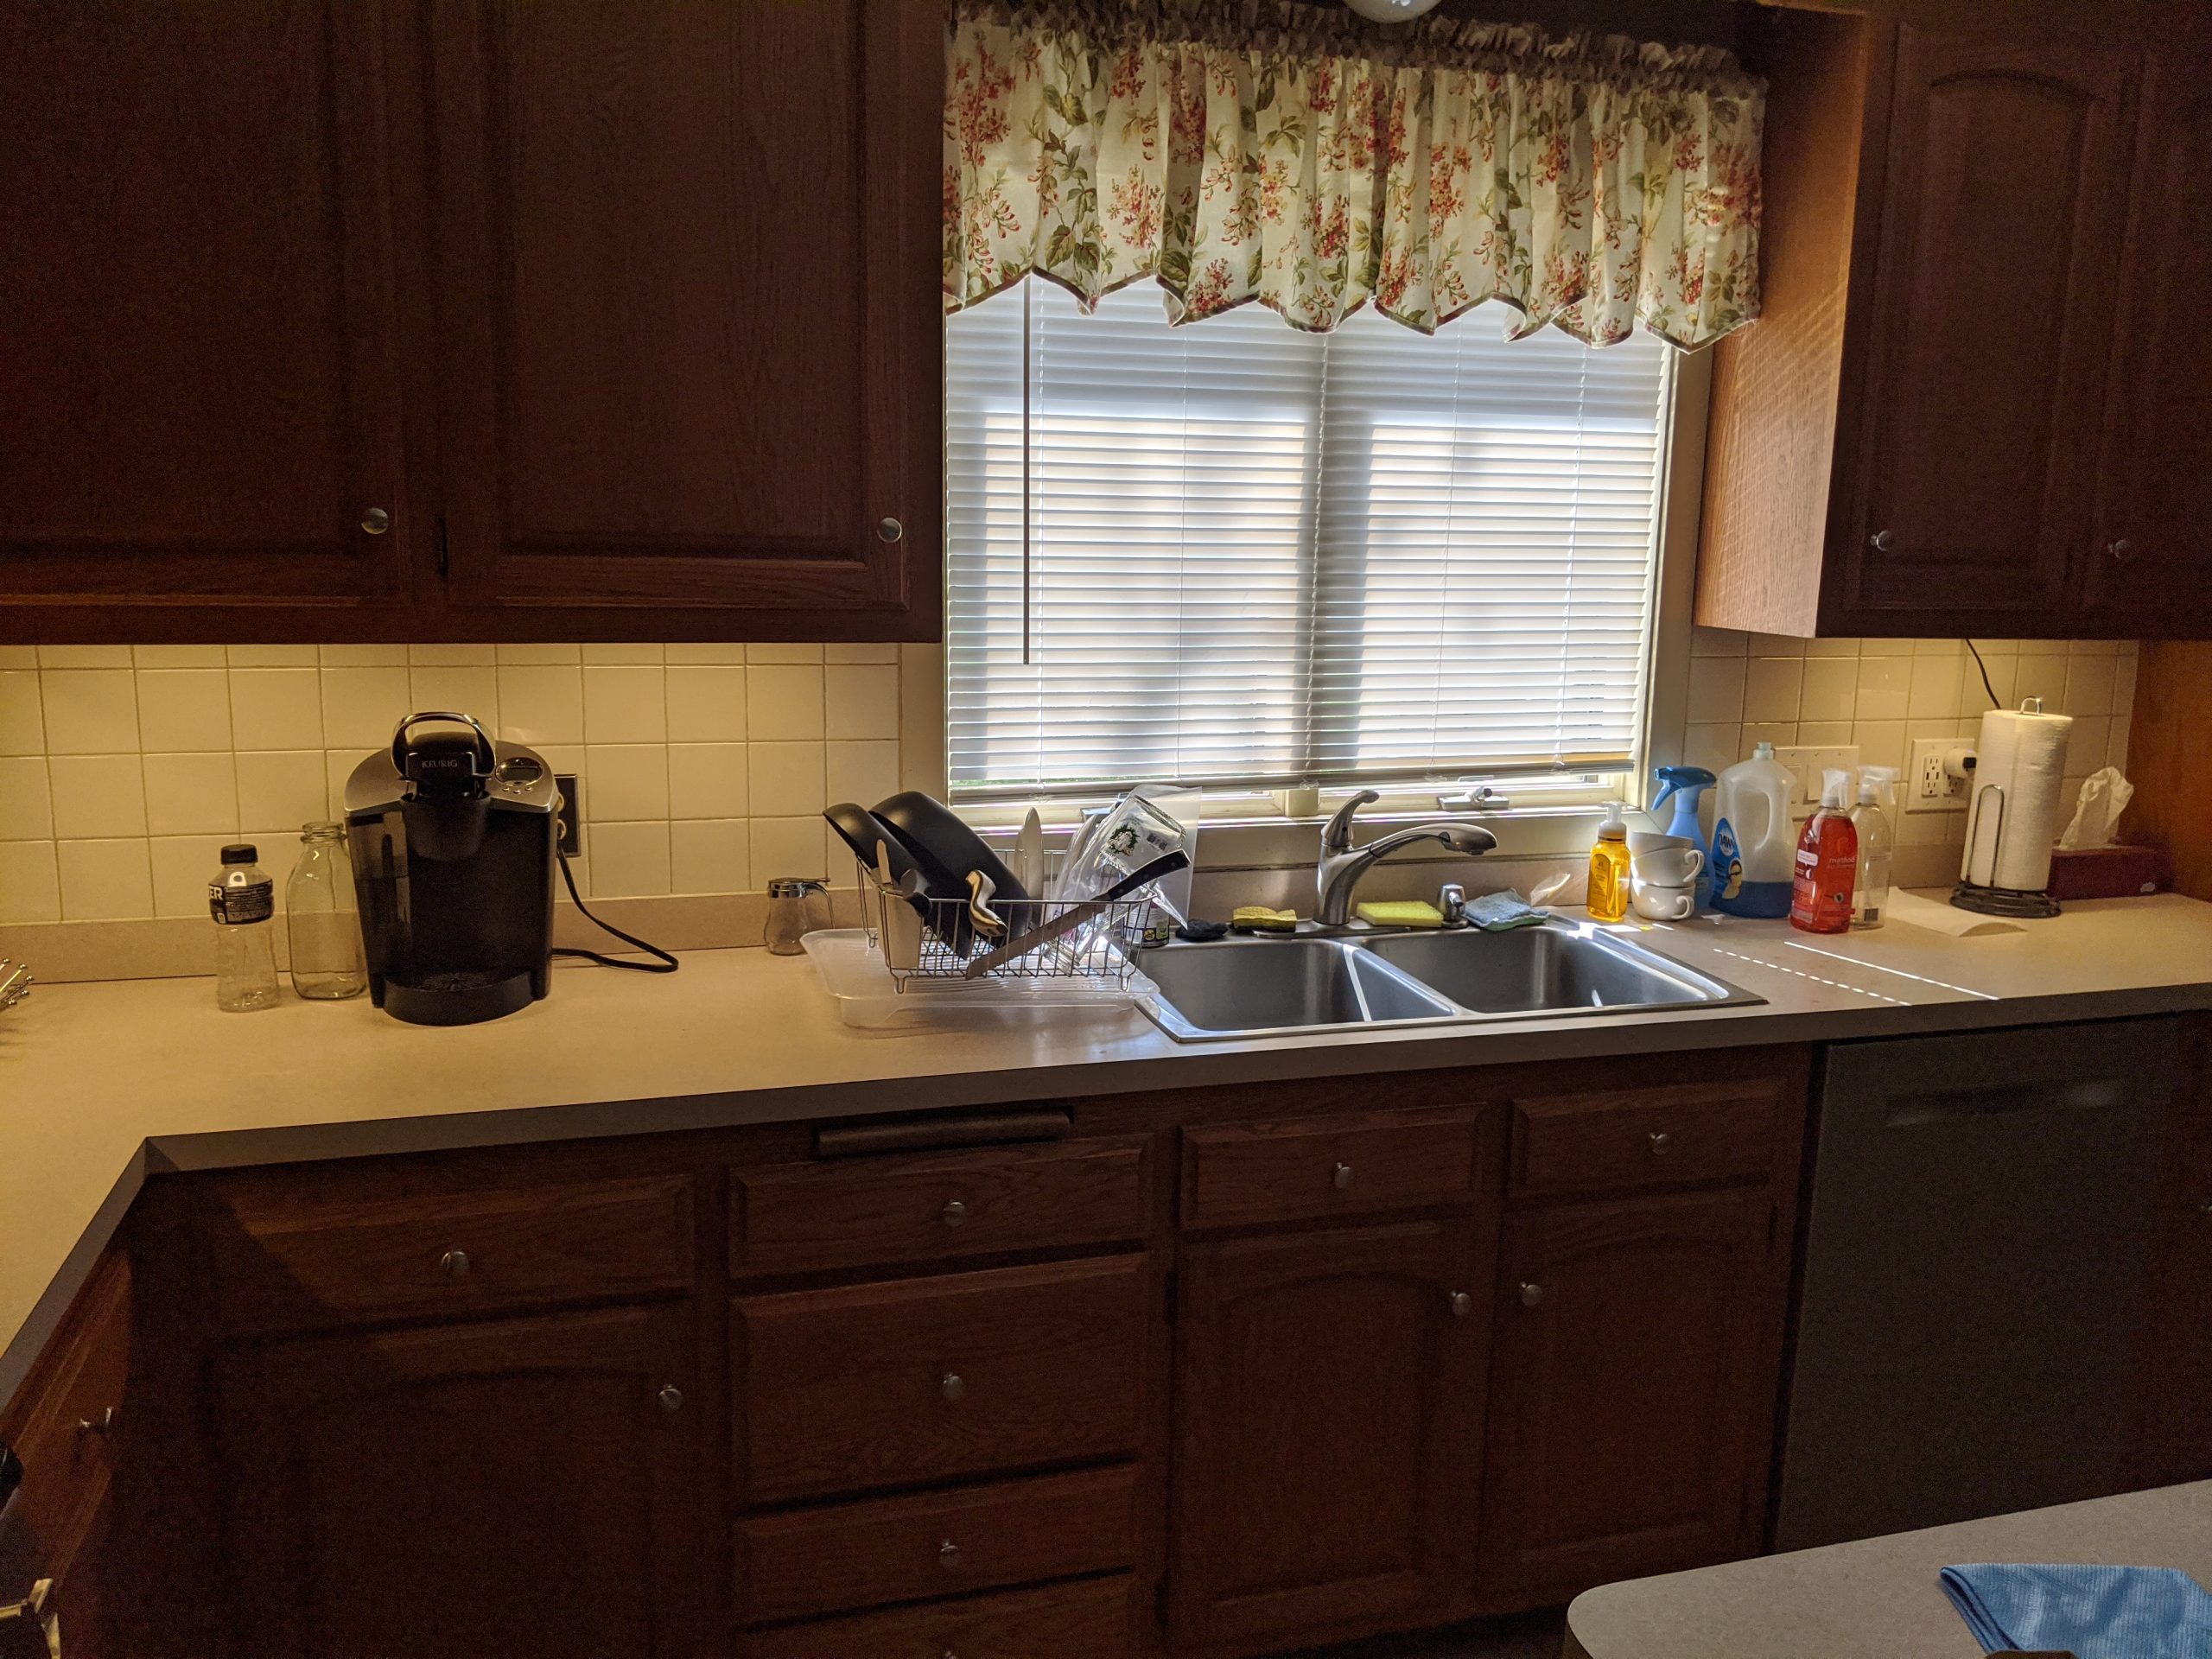
There are a lot of lights already in place in the room – a light over the sink, a light over the island counter, three recessed lights above the counter, a hanging light over the breakfast nook table, and a couple of recessed lights in the main walkway / entrance from the other two adjacent rooms. If I turn everything on at once (I’ve converted everything to LED except the fluorescent fixture over the island), there’s plenty of light in the room and you can see everything really well. Still, the work areas along the counter are not lit evenly by the recessed lights and the areas directly under the upper cabinets are not lit well at all. Since these are the areas where things like food preparation, mixing, and appliance operations are going on, it’s useful to be able to see really well in these areas – and the existing lighting just doesn’t do a good job for these purposes.
Based on some past experience, I decided to purchase some under-cabinet LED light strips to significantly improve the lighting along these workspaces. Total investment, including smart plugs for smart speaker integration, was under $100. Total time was about 1.5-2 hours of my time to install the light strips, run the wiring, and connect the smart outlets to my smart speaker. It has made a huge difference for working in the kitchen, and it’s a really nice upgrade that any potential buyers of the home will really love.


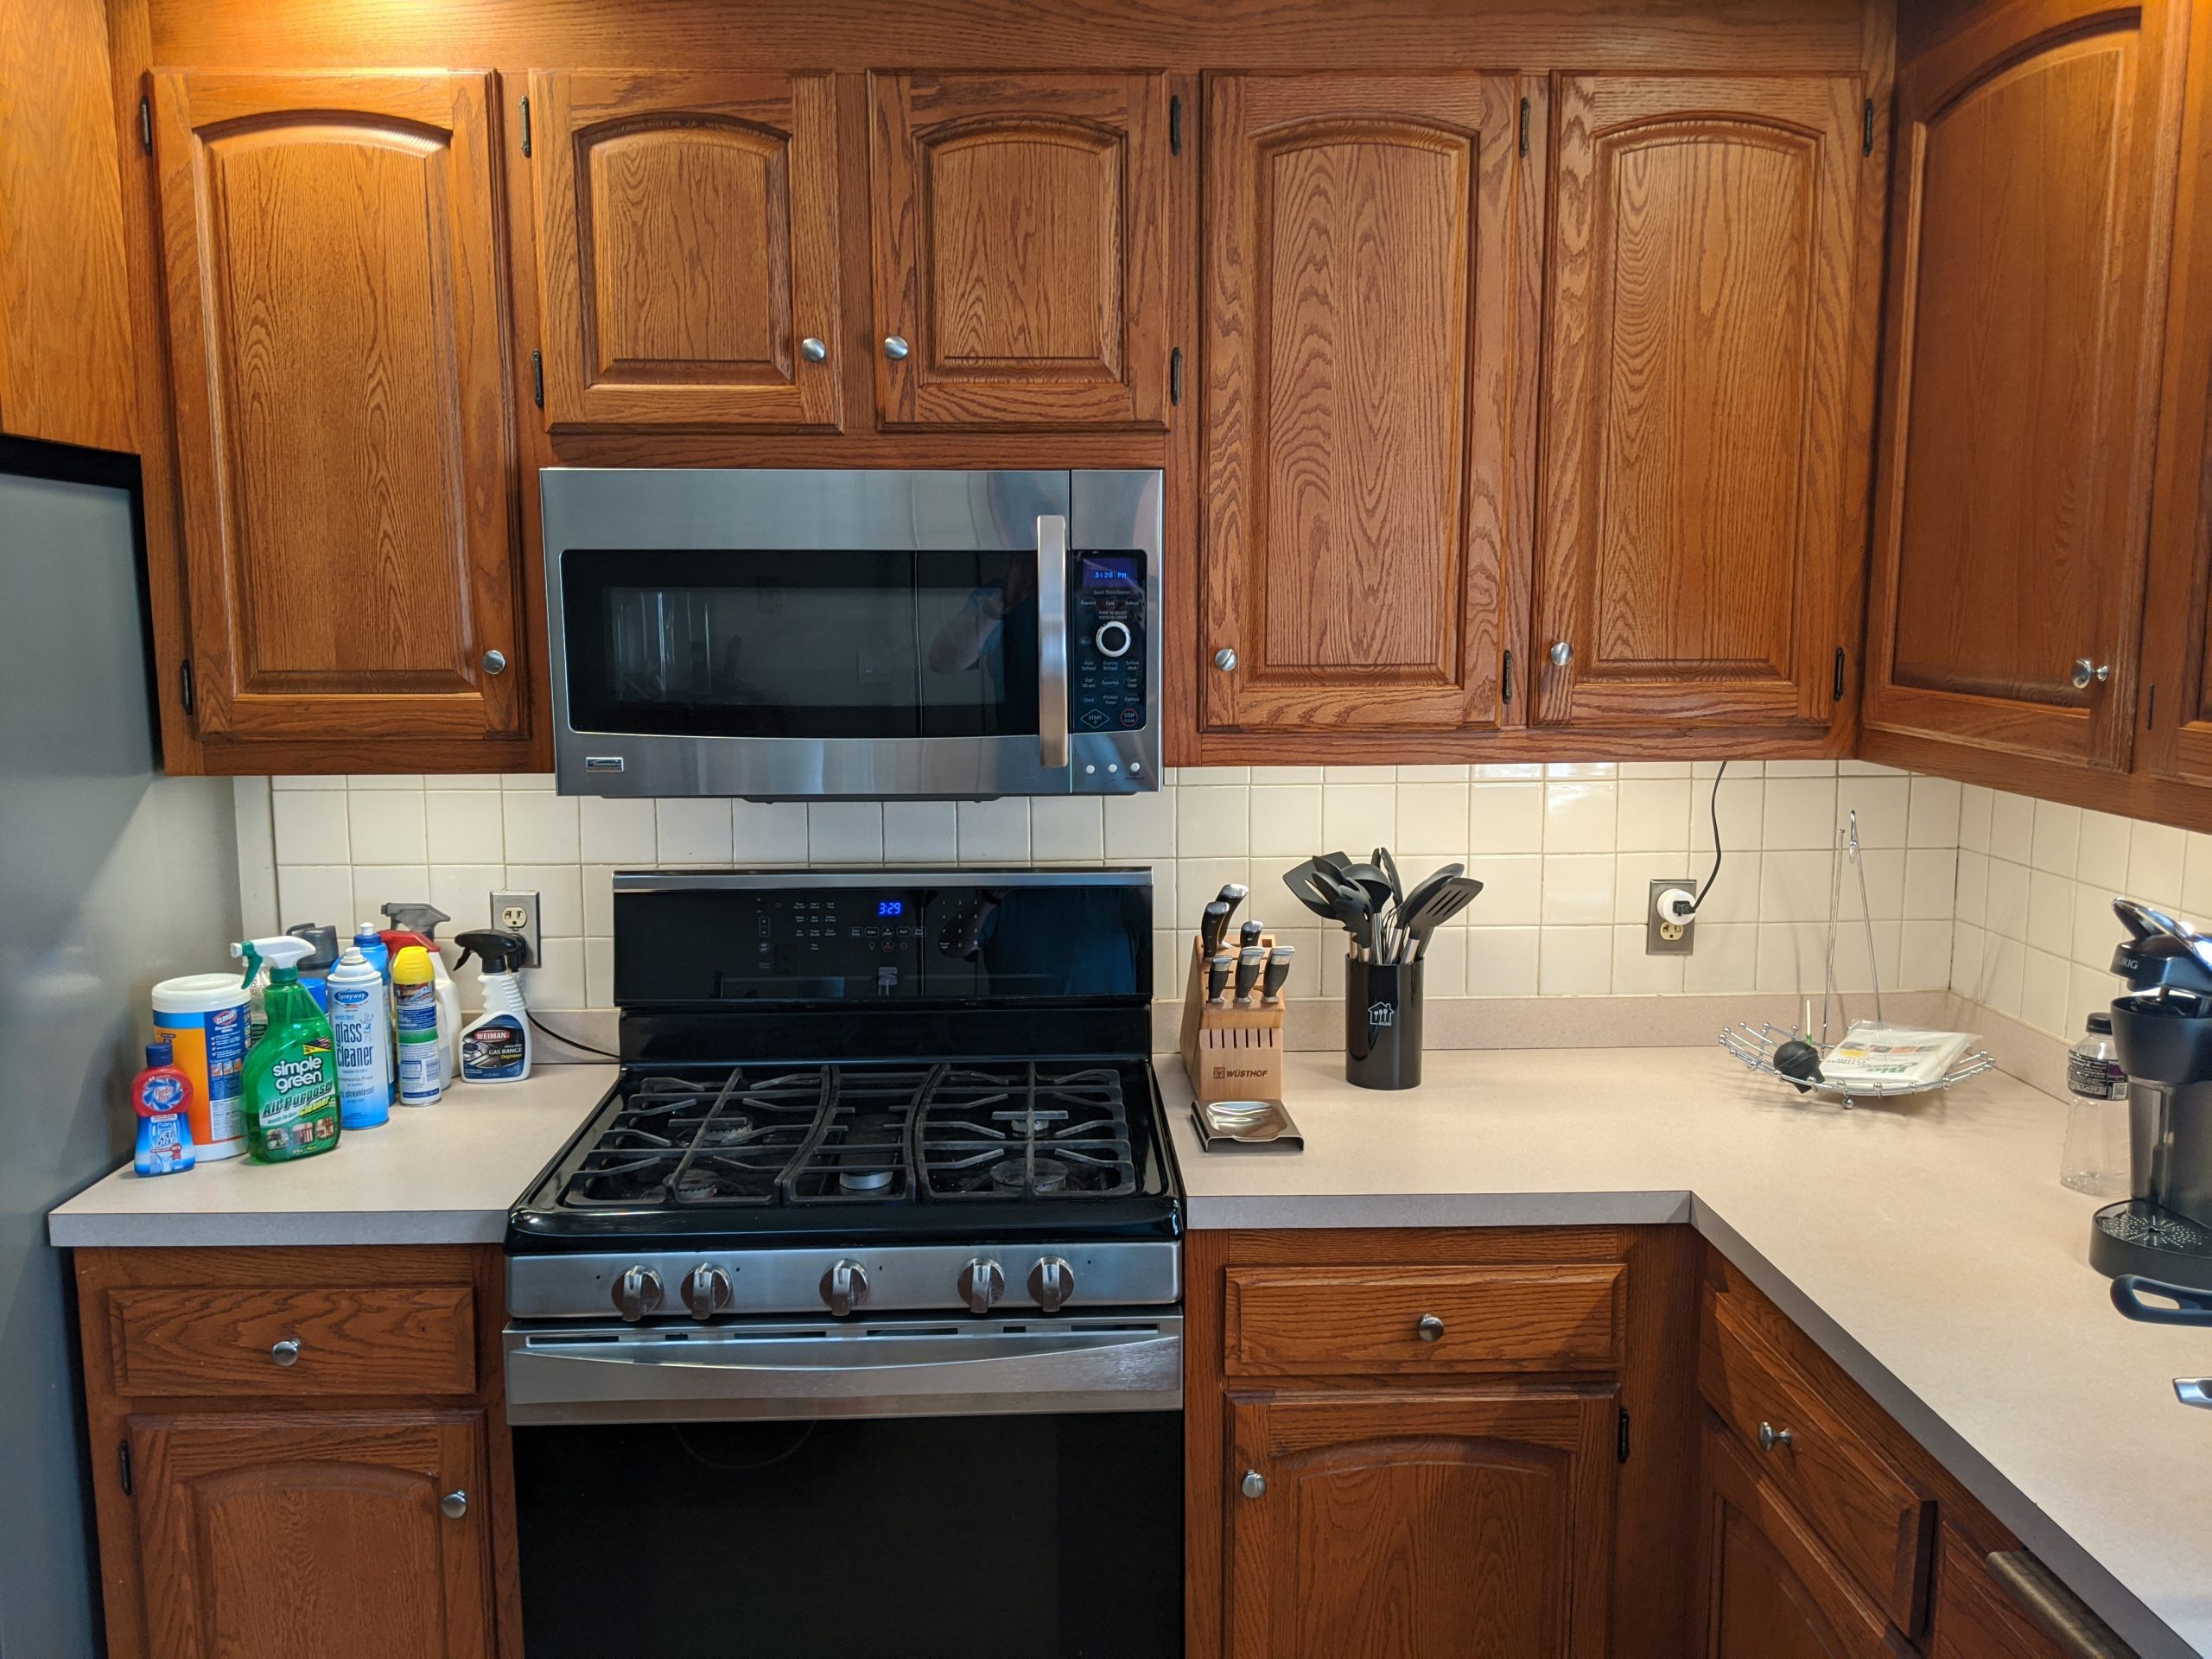

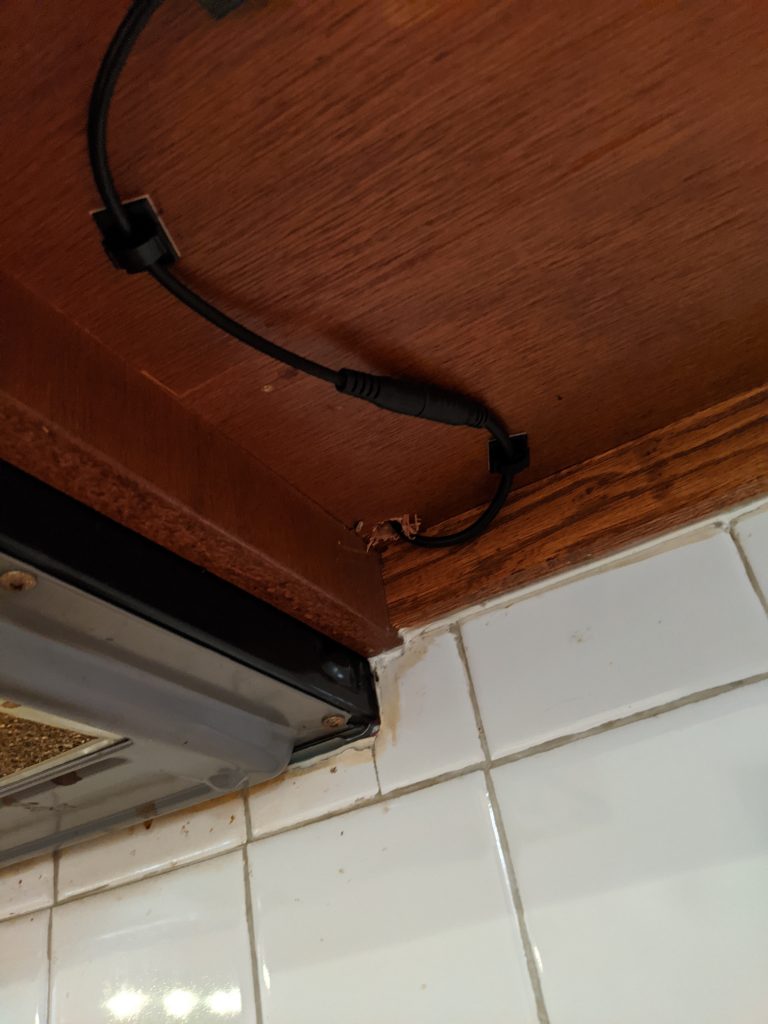
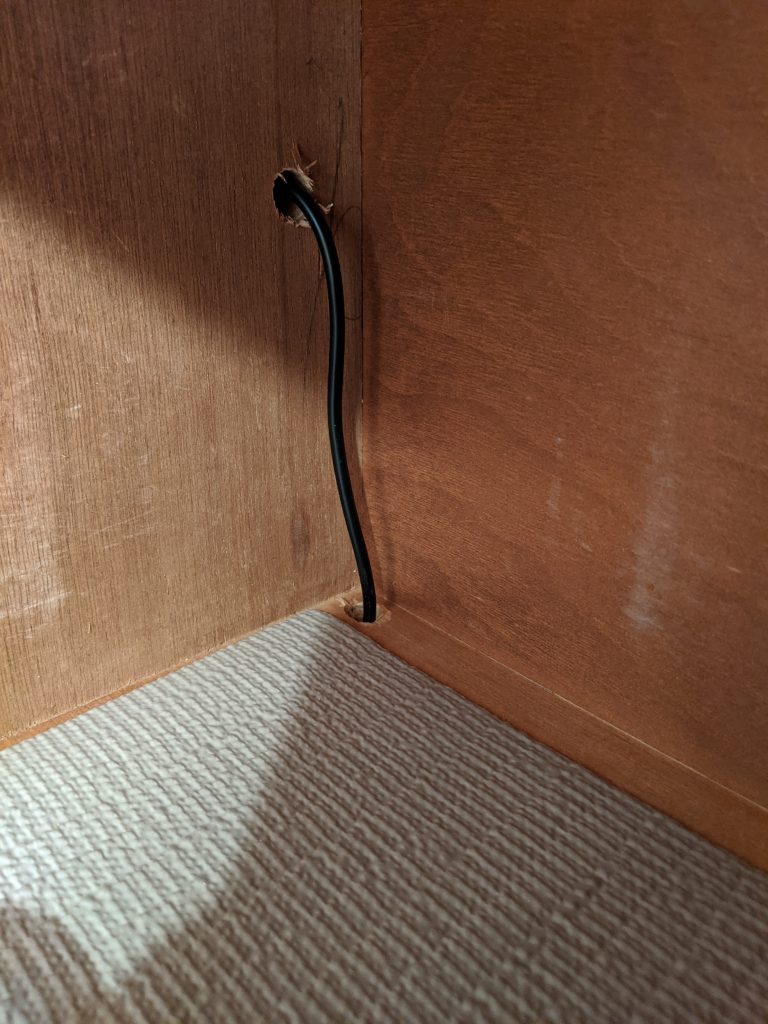
When installing the lights, they are snapped into brackets that I attached to the underside of the cabinets using the supplied screws. Double-sided tape is also an option that was included but I wanted something more “permanent” for attachment. The wiring all tucked up under there are held in place with clips so that it’s all very neat and tidy. I needed to route the power cabling from the right side of the microwave to the left (notice the plug on the right and absence of one of the left), so I drilled through the cabinets themselves. It’s very unobtrusive and clean, even inside the cabinet.